Make Your Own Paper
This activity comes to us from the educators at the Prospect Park Audubon Center. Check out our Audubon at Home page for more nature fun.
You may have heard the phrase, “reduce, reuse, recycle,” but what does it really mean and what are the benefits? Let’s break down each term:
Reduce
To reduce means to use fewer products when possible. This can include avoiding single-use items—like shopping bags or straws—or using less of something, like turning off the faucet when you brush your teeth to use less water. When you reduce, you lower the amount of waste created.
Reuse
To reuse means to use the same item multiple times. This can include replacing single-use items, like plastic water bottles, with reusable water bottles. When you reuse, items last longer before becoming waste.
Recycle
To recycle means to use the materials from something old to make something new. When you recycle, items are turned back into usable products and waste is avoided entirely!
How does recycling actually work? To show you, we’re going to make a new piece of paper out of materials you have at home.
Activity: Recycle scrap paper to make your own, new piece of paper.
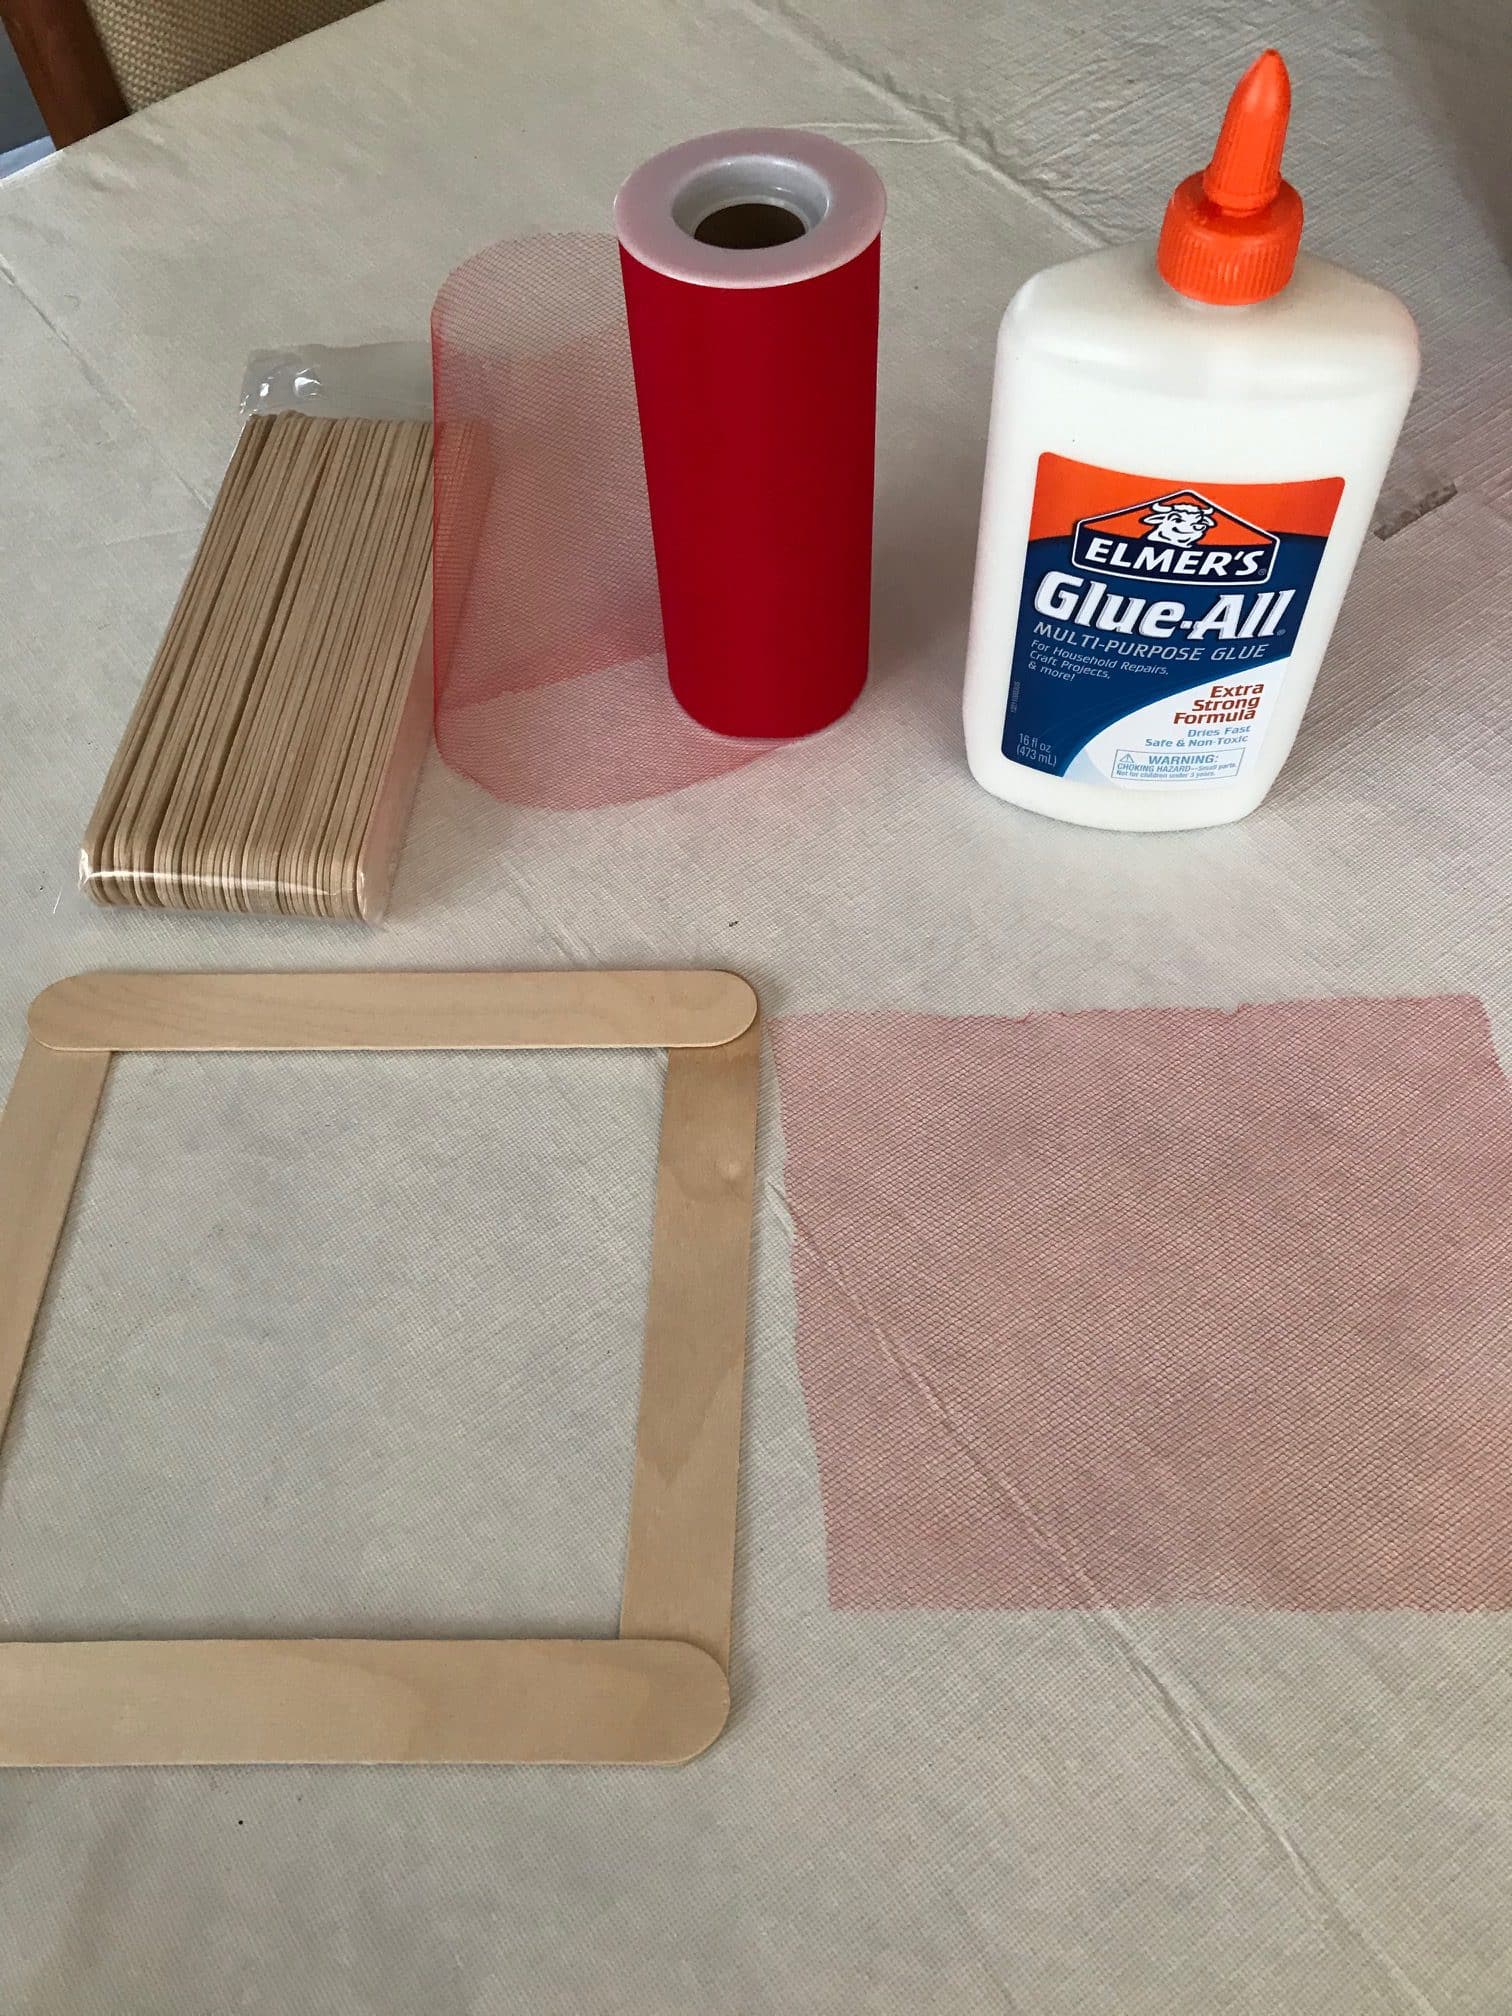
Materials:
- Scrap paper (newspaper, junk mail, phonebooks, anything but waxed paper)
- Pieces of wood for the frame (popsicle sticks, paint stirrers, etc.)
- Glue (to hold the frame together)
- A screen or mesh (A window screen or tulle from a craft store will work)
- Staples or tacks (to hold the screen to the frame)
- A basin large enough to fit your frame in
- A blender
- Paper towel or a cloth that can get dirty
- Optional: Dryer lint, food coloring, rolling pin
Step 1:
Pulp is a mix of water and plant fibers—rip your paper of choice into small pieces and soak them in warm water for at least two hours and as long as overnight.
Step 2:
While your paper is soaking, prepare your paper mold. Make a square or rectangular frame out of 4 pieces of wood—popsicle sticks, scrap wood, old paint stirring sticks, anything of the sort—and glue them together. Make the frame any size that will fit your screen, keep in mind that the bigger it is the more pulp you will need.
Next, stretch your screen over the frame and secure it with staples or tacks. The shape of the mold will determine the shape of the paper.
Step 3:
Once paper has soaked, remove the pulp from the water and place it in the blender. Add fresh water to the blender, at least 2x as much as the paper—blender should be ⅔ full.
At this point, you can add a tablespoon of cornstarch to make the paper easier to write on, or a drop of two of food coloring to tint your paper.
Run the blender on “slow” and blend for approximately 30 to 40 seconds till the mixture is a smooth slurry. Avoid over blending.
Step 4:
Pour your blended pulp into a large container and add additional water: more water will result in thin paper, and less will result in thicker paper. Mix your pulp into the water, then take your mold—screen side down—and slide it into the mixture till it reaches the bottom.
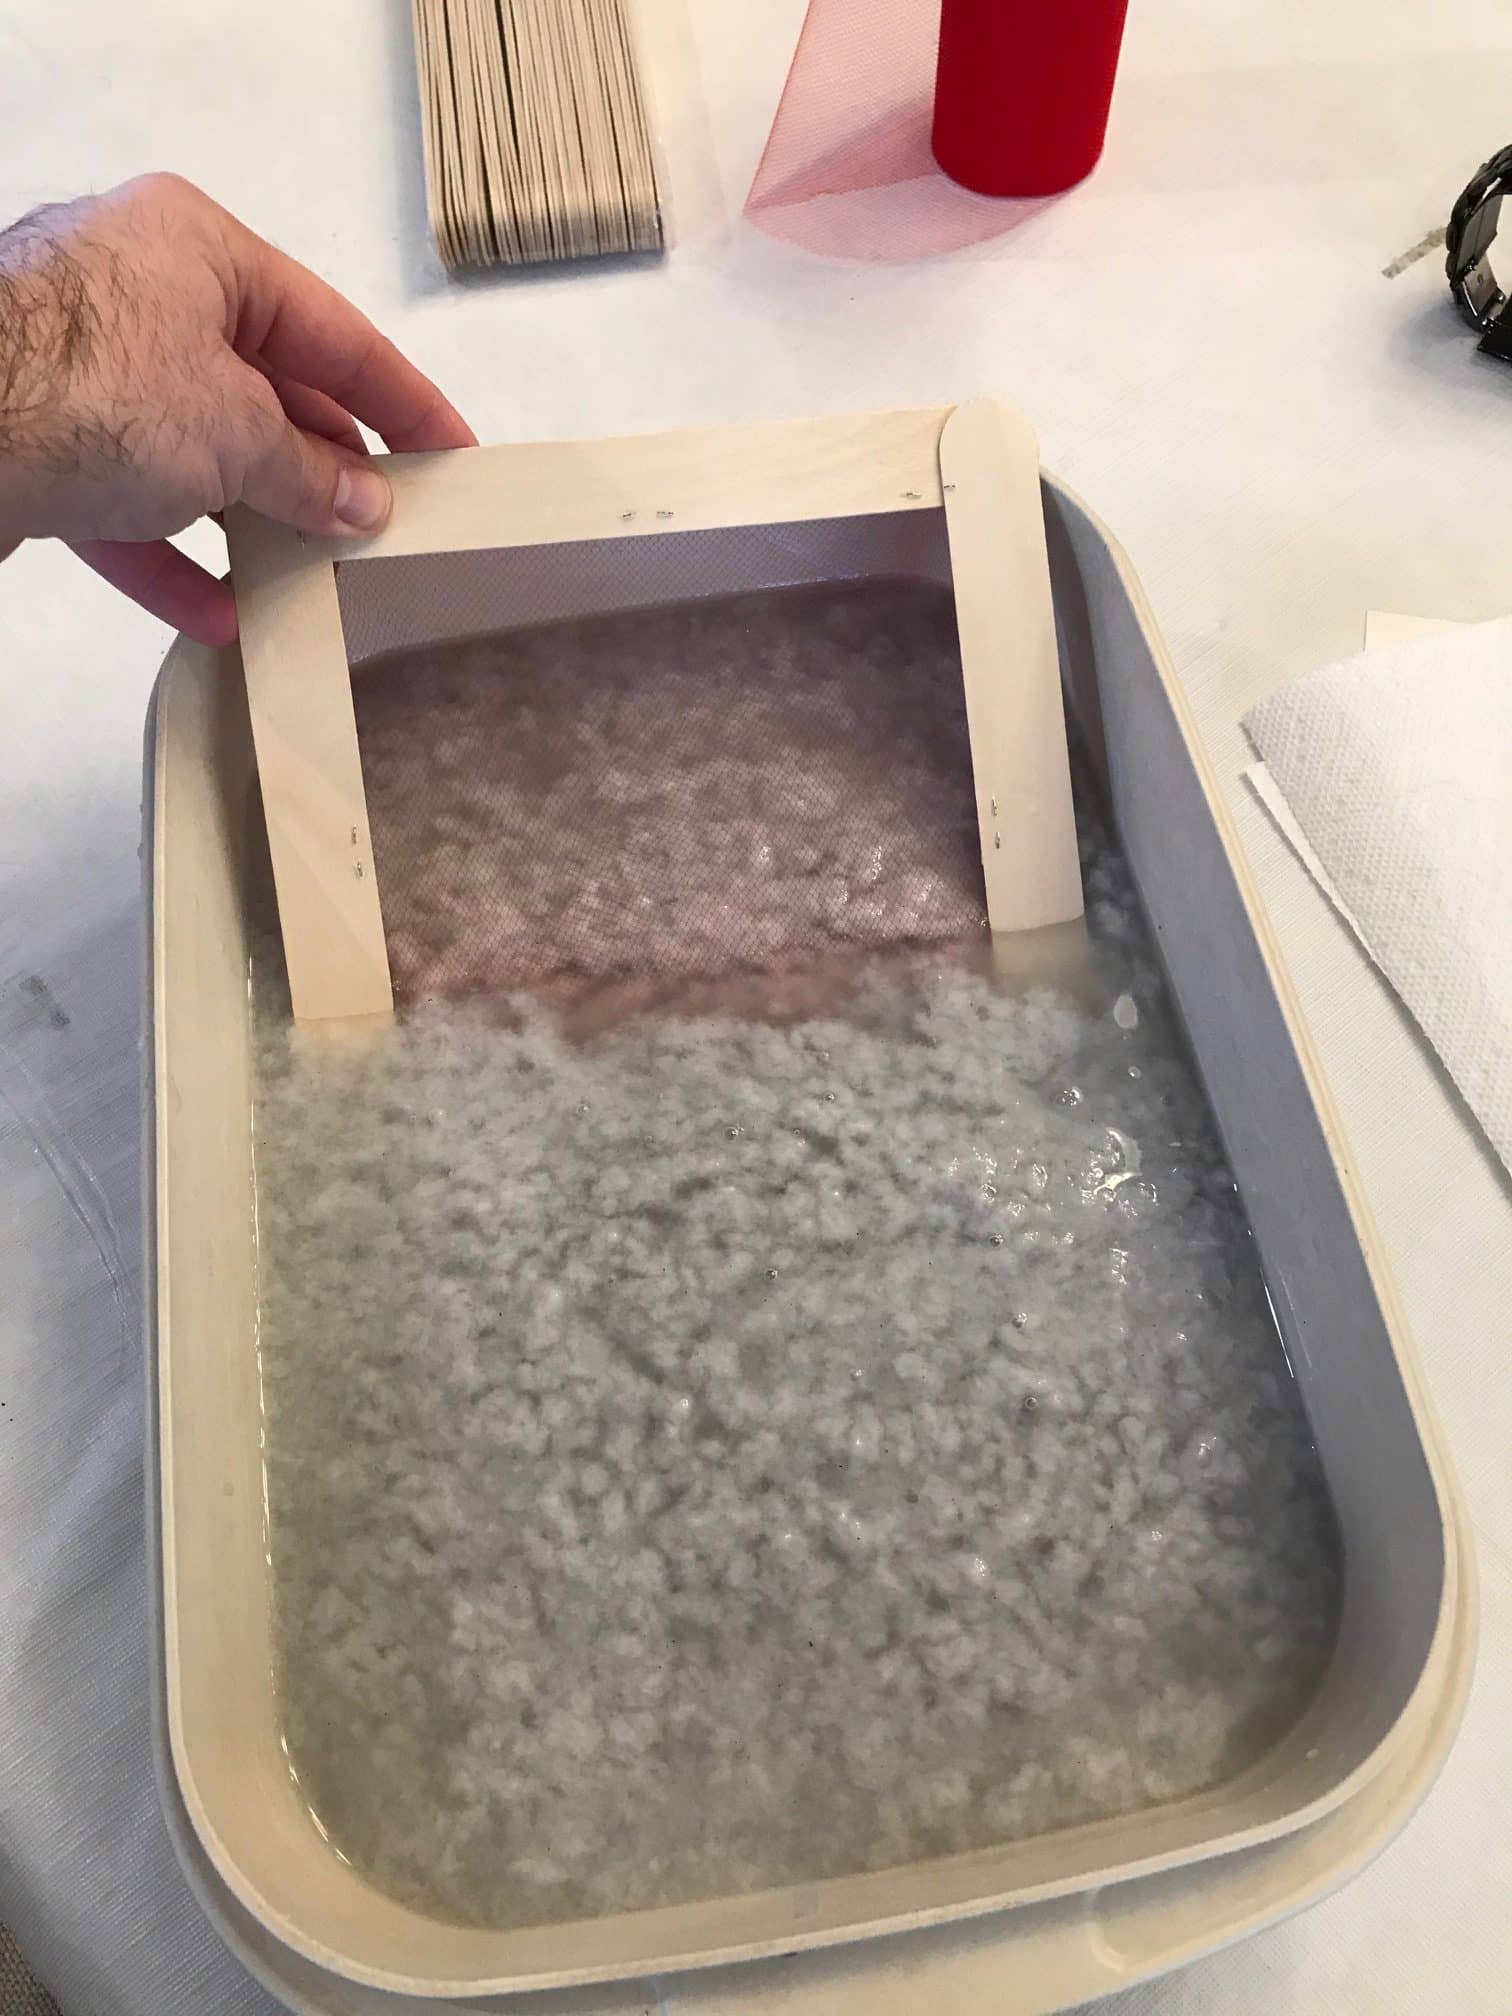
Lift the mold up, and shake it side to side. The screen should be covered in an even layer of pulp that will dry into your paper!
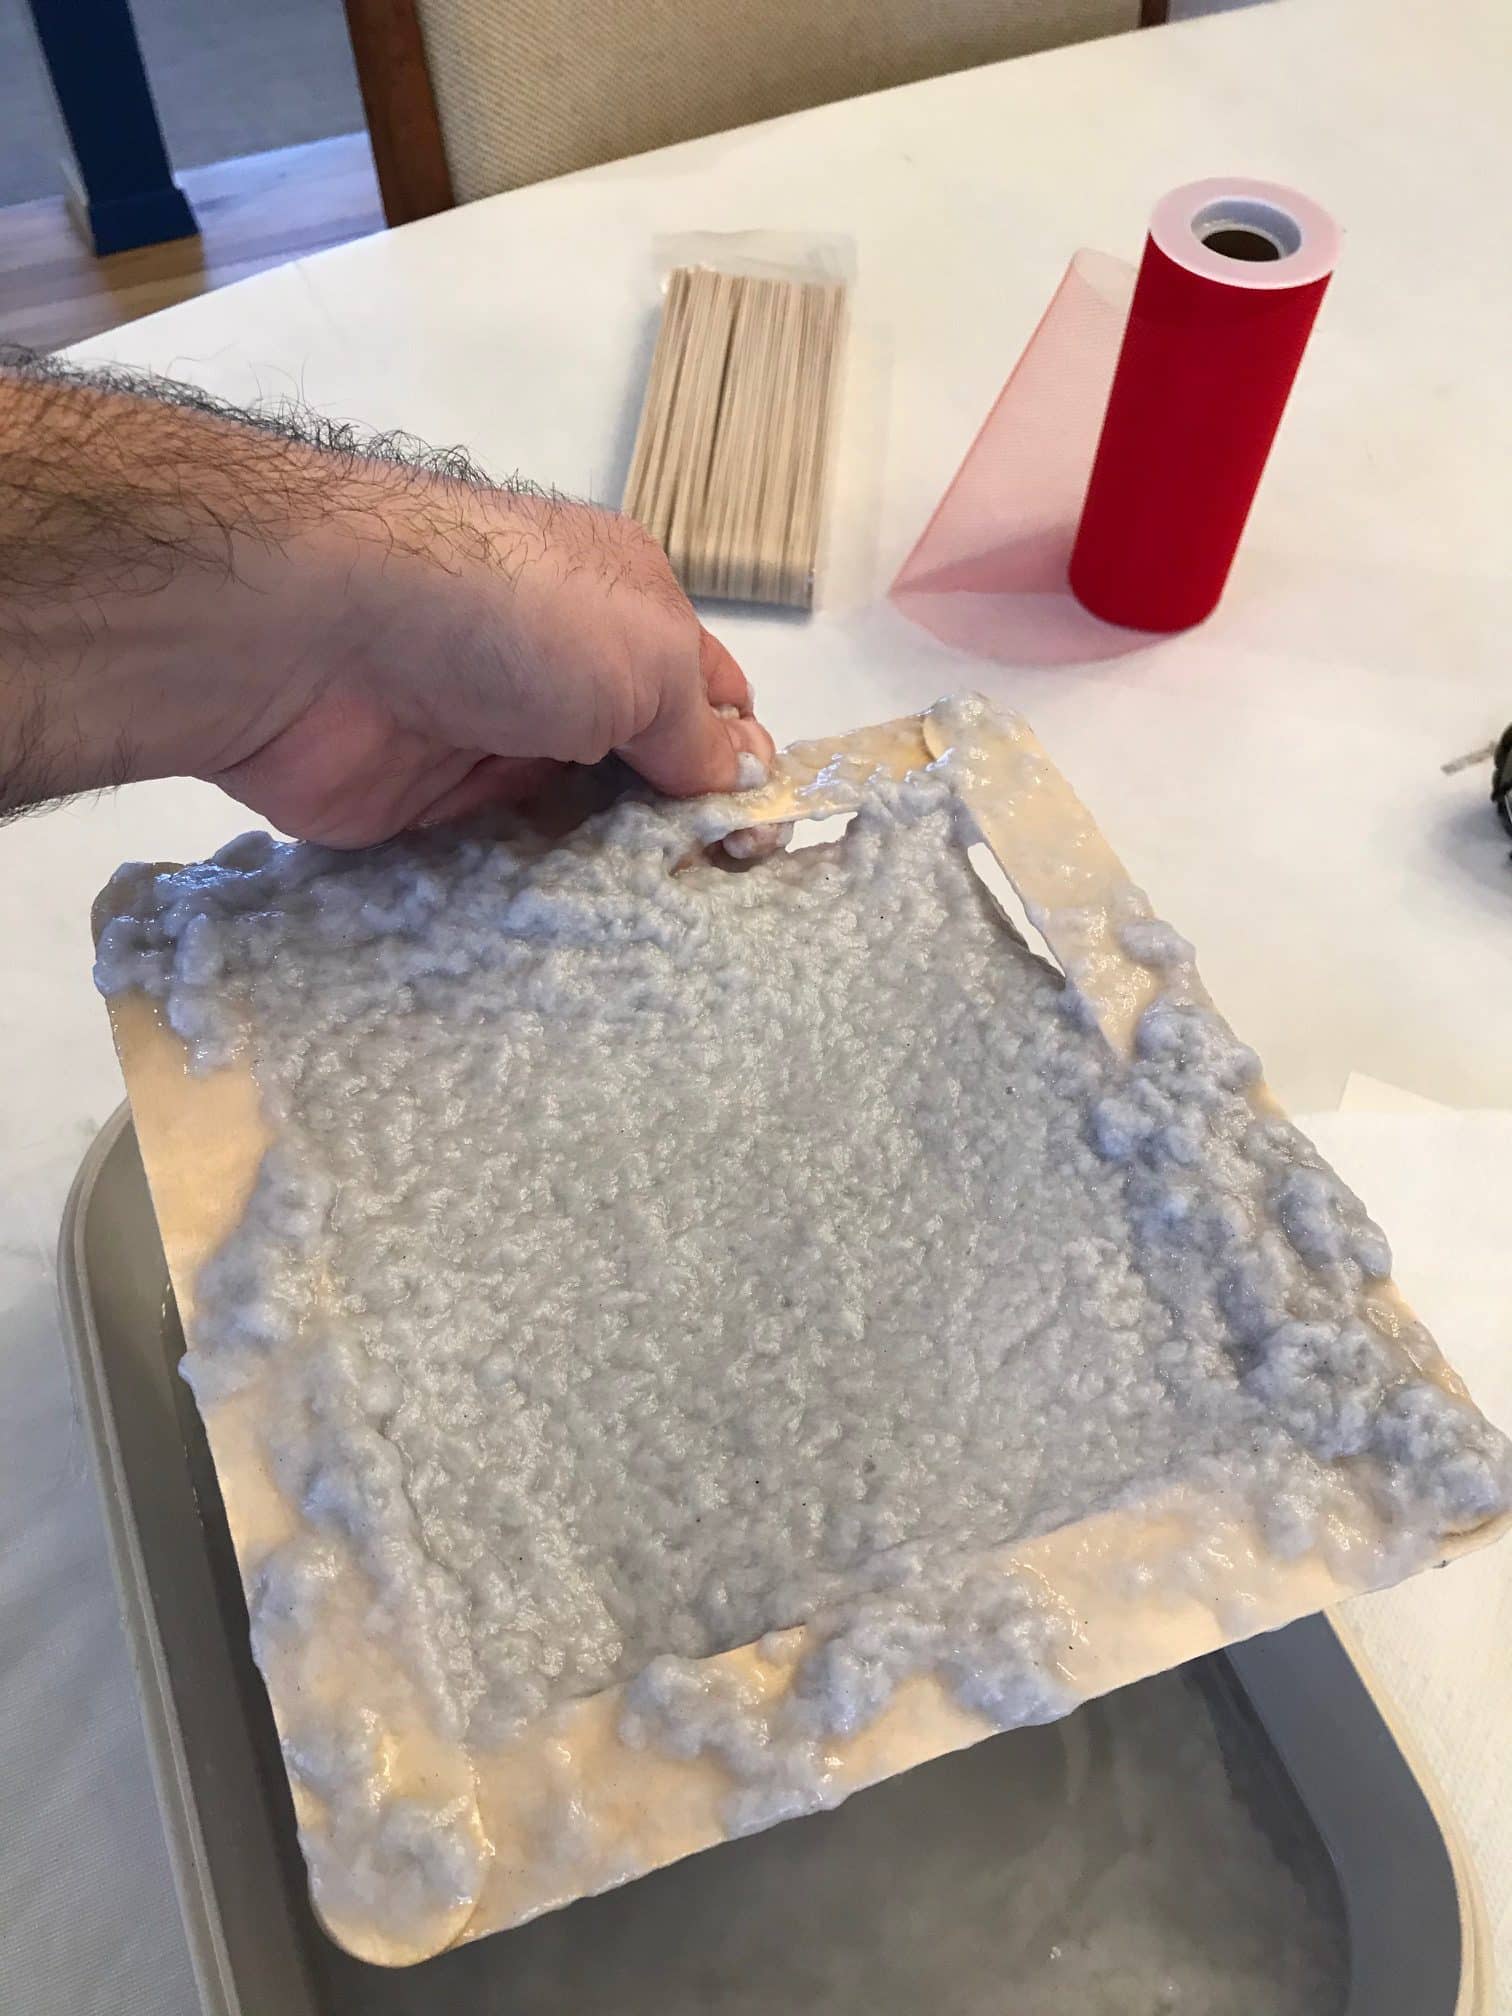
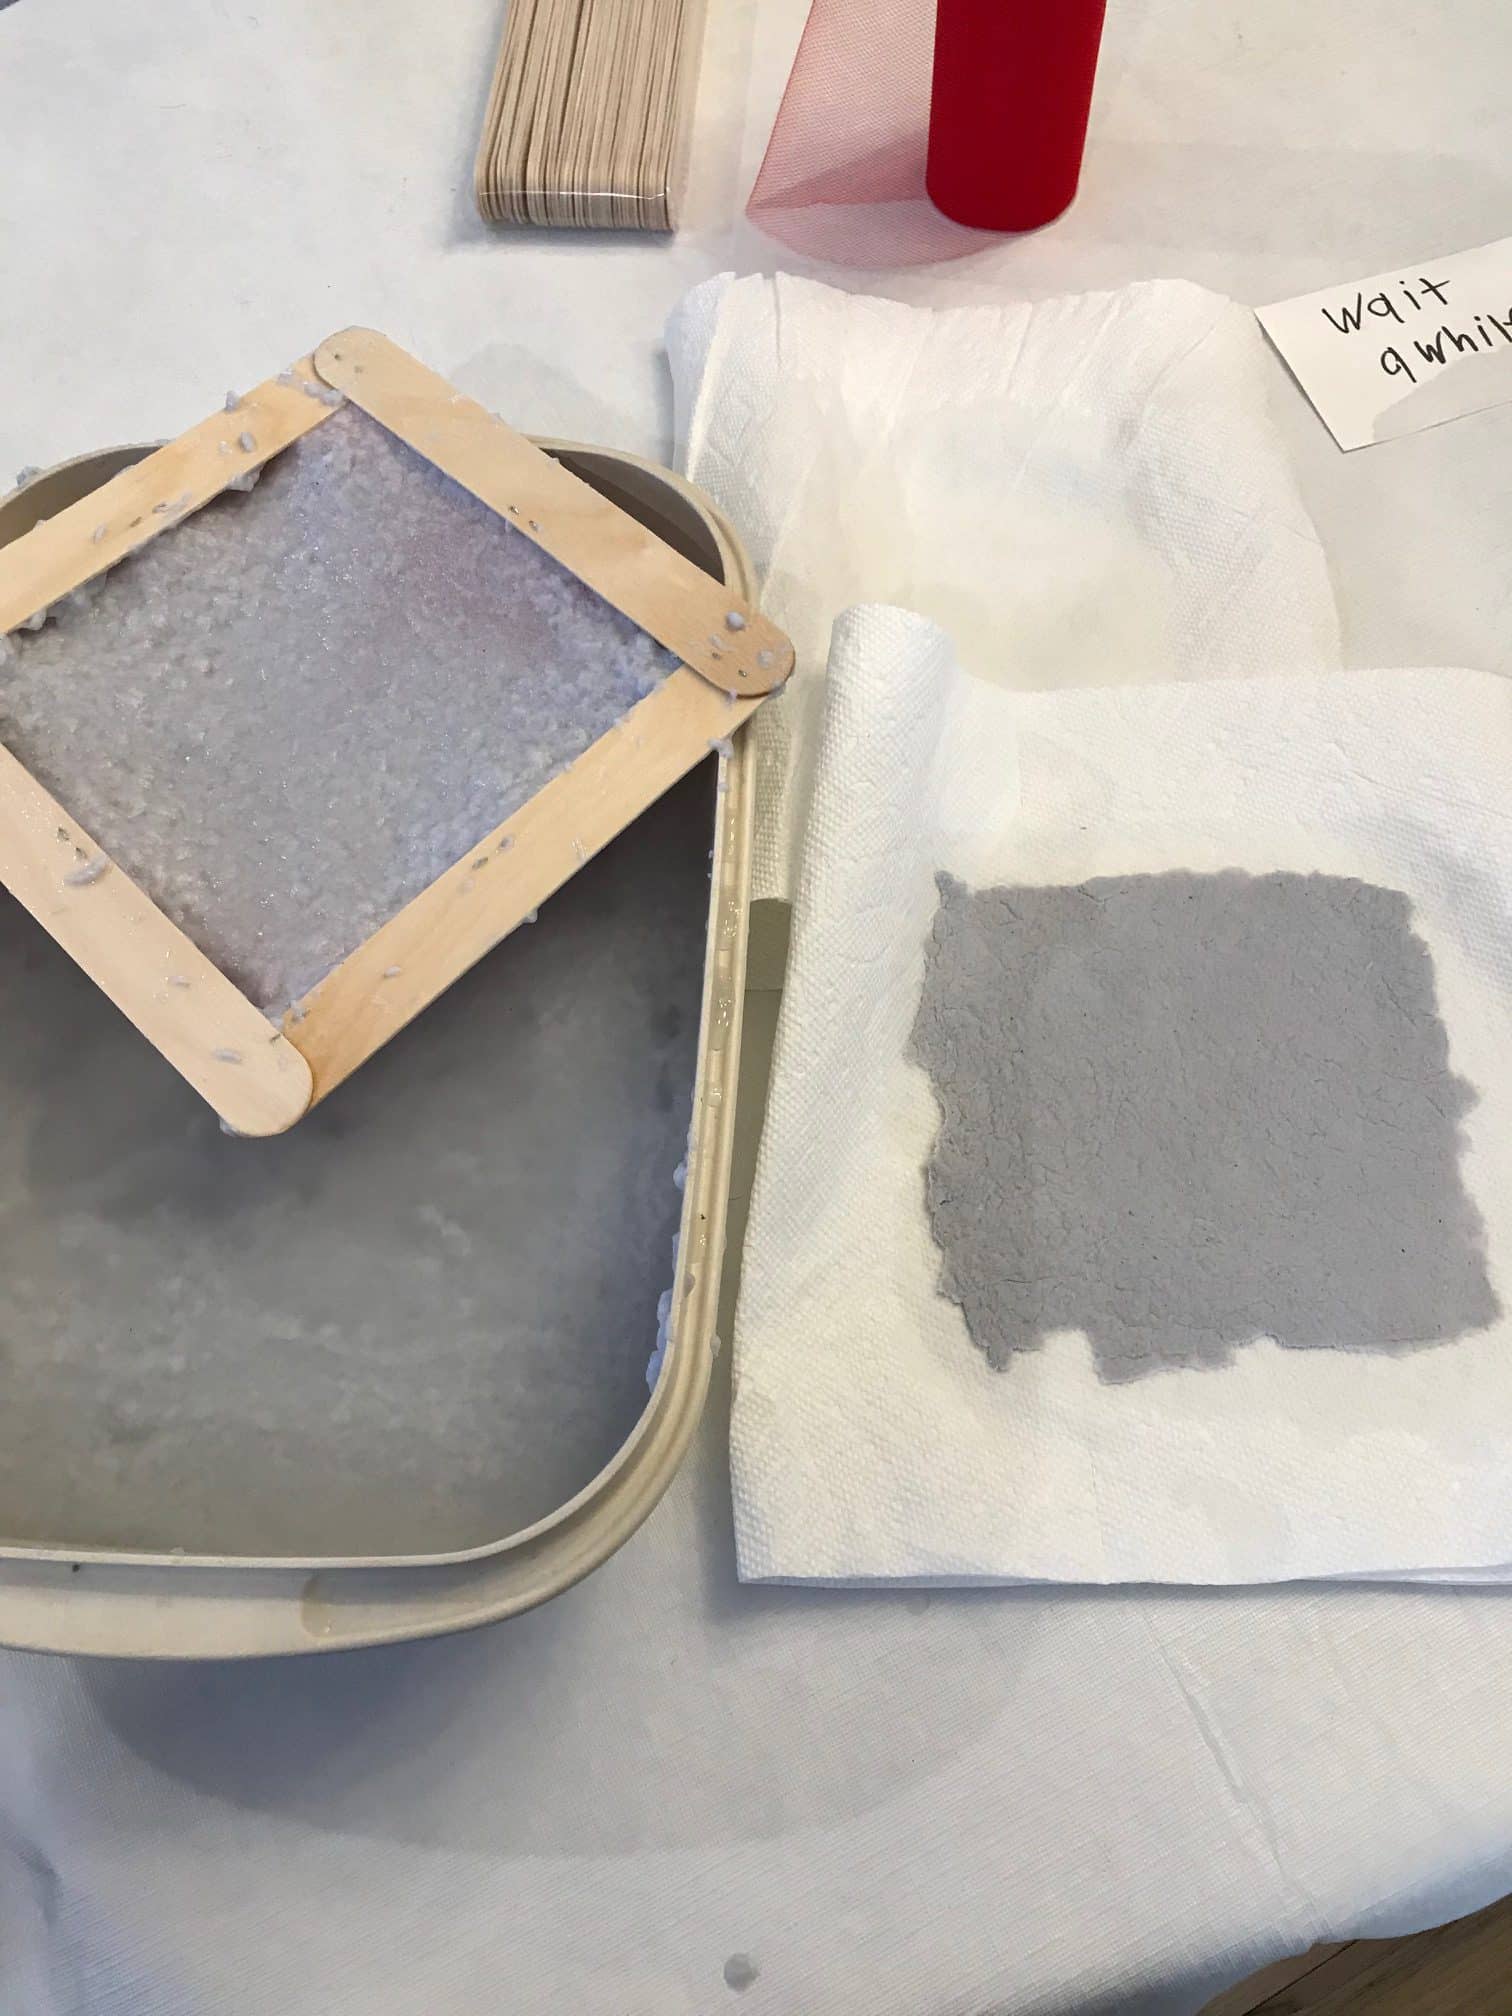
Step 5:
Hold the mold over the tub till the excess water drips off, and gently remove excess pulp from the sides of the mold. Lay a piece of cloth or paper towel on top of the mold and pulp, and carefully turn it over. Use a paper towel to absorb some of the water through the screen. Allow time for the paper to at least partially dry.
Step 6:
Lift up the mold, leaving your new sheet of paper on the cloth or towel, and wait for it to dry! To speed the process, you can put another paper towel on top and gently press it with a rolling pin. Add more paper towel if soaked through. Add a book, or something heavy on top during the drying process to help keep the paper flat. If you have leftover pulp you can make more sheets. Have fun and happy recycling!